Hellvape Fat Rabbit 2
The Fat Rabbit series has been around for a while now but we are always happy to see a new addition. Antony gets to grips with the new Hellvape Fat Rabbit 2 Tank
-
by Antony Lord

Share on:

It’s been a while since I heard anything from Hellvape but now they’re back with a fresh entry in the sub-ohm tank world with the Fat Rabbit 2 tank. I never tried the original Fat Rabbit tank so I was interested to see if the dual top and bottom airflow system would add anything new to the experience.
Specifications
- 28mm diameter
- 37.2mm tall (excluding drip tip and 510 connection)
- 810 drip tip
- 4ml/5ml capacity (2ml for TPD regions)
- 0.15 and 0.2 ohm P-Coils included
- 5 colour options
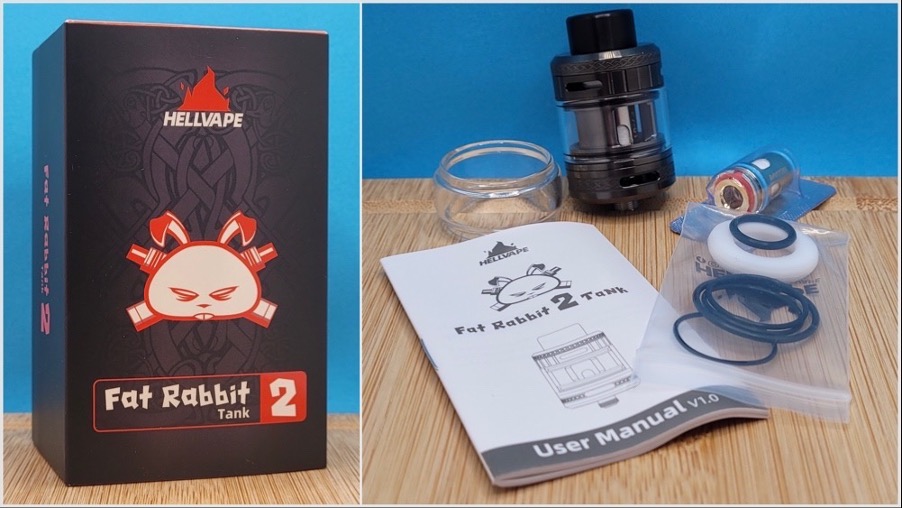
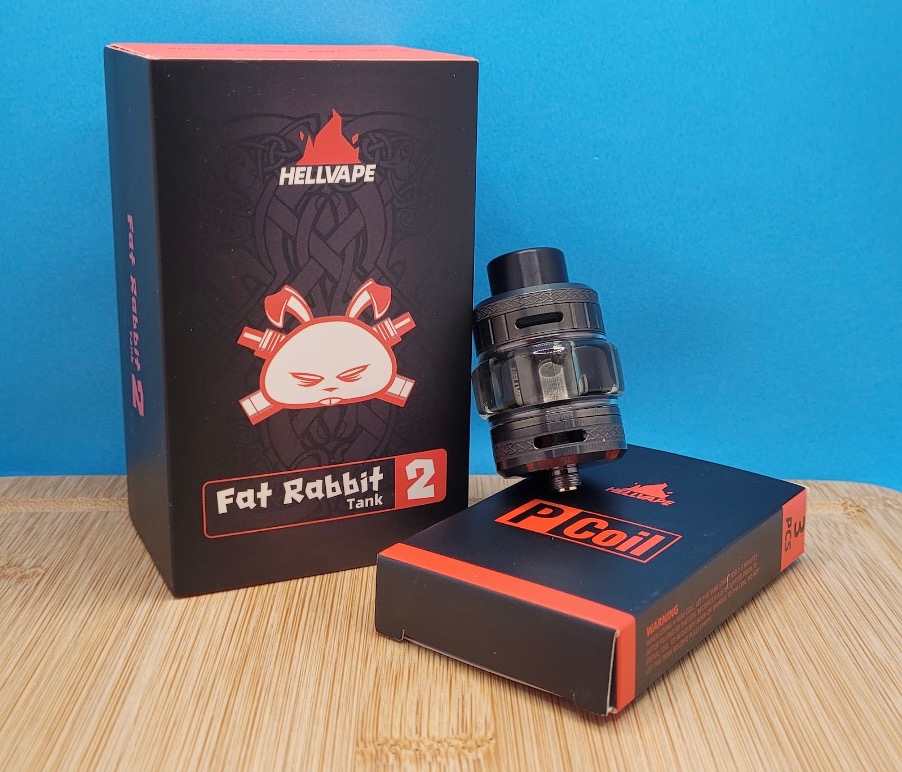
The Fat Rabbit 2 tank comes with two coils, a brief user guide, spare O-rings, and two glass tanks. I was sent the gunmetal and matte full black versions for testing but it’s also available in stainless steel, blue, and (shudder) rainbow so you have plenty of options if you like colour matching your gear.
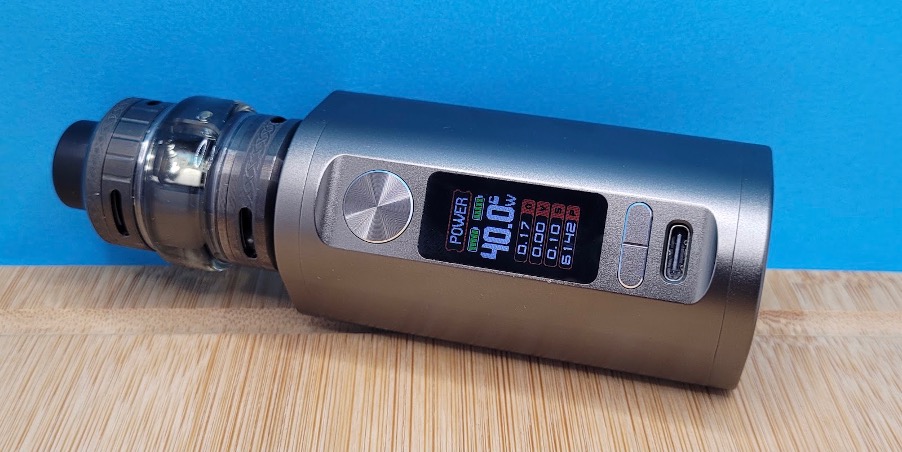
Hellvape describes the Fat Rabbit 2 tank as a 28mm tank and with the straight glass installed this is true, there is a chamfered edge at the base though which tapers down to just 25mm so you won’t necessarily need a monster mod to sit this on. I tried this with a number of single 21700 mods and it looked fine most of the time, but it did occasionally look a bit top heavy depending on the mod, in the end though I decided the best match was in fact the Hell200 mod which I reviewed last year.
For this international version there’s a 4ml straight glass and 5ml bubble glass included in the box, whilst here in TPD land we will of course be limited to 2ml with no bubble glass; it’s not clear if this will simply be achieved with a bung of some nature but due to the design, I can’t see anyway for Hellvape to reduce the capacity with the glass itself. The glass section is easy to swap over, simply unscrew the base and slide the existing glass off the two O-rings holding it in place and then install the new glass section.
One thing I did notice is there must be a slight discrepancy in the glass size (although I couldn’t detect any with my crappy plastic callipers) because with the straight glass installed the top and bottom airflows don’t line up but with the bubble glass they do! The bubble section actually doesn’t look bad here, so I decided to go down that route as the offset airflows with the straight glass were triggering my OCD tendencies! Whilst both of my tanks had the same issue, this could vary a lot from batch to batch and it doesn’t actually inhibit the function so it’s more of a niggle than anything else.
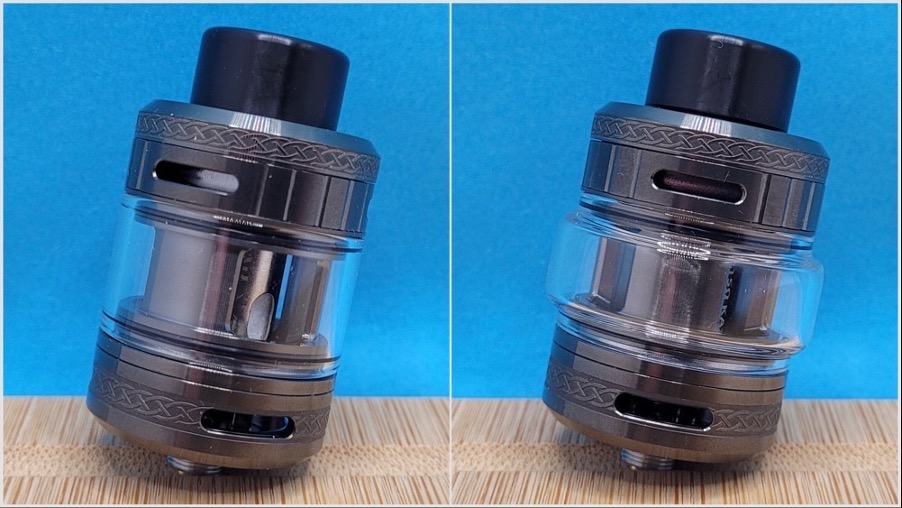
Both airflows have hard stops at the fully open and closed positions with a nice amount of tension on the O-rings, and the top airflow ring is removable for cleaning whilst the lower one isn’t due to the design of the base section. It’s nice to see the Celtic knot design has been held over from previous Fat Rabbit releases as this combined with the strong vertical lines on the top airflow ring break up the lines of the tank in what would otherwise be quite a plain design.
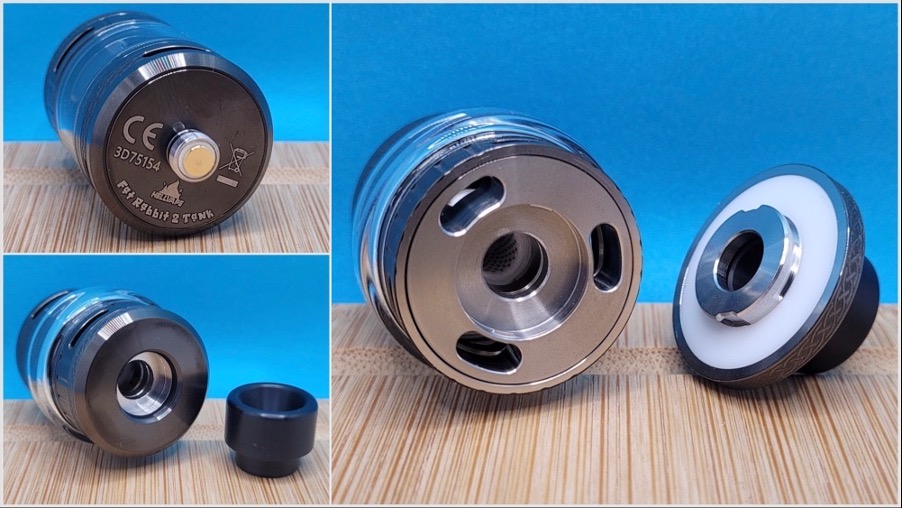
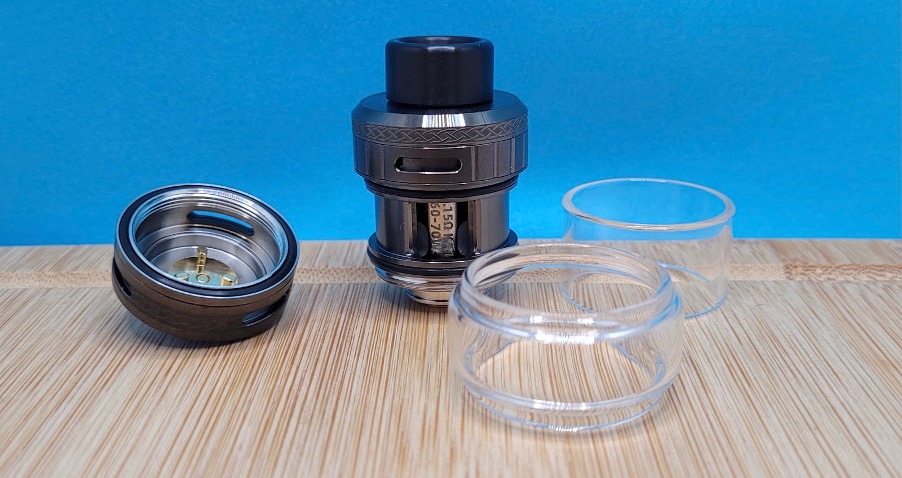
Up top, there’s a standard 810 drip tip on a quarter turn bayonet fitting top cap. This reveals three generously sized fill ports all sealed by the large rubber seal embedded in the top cap.
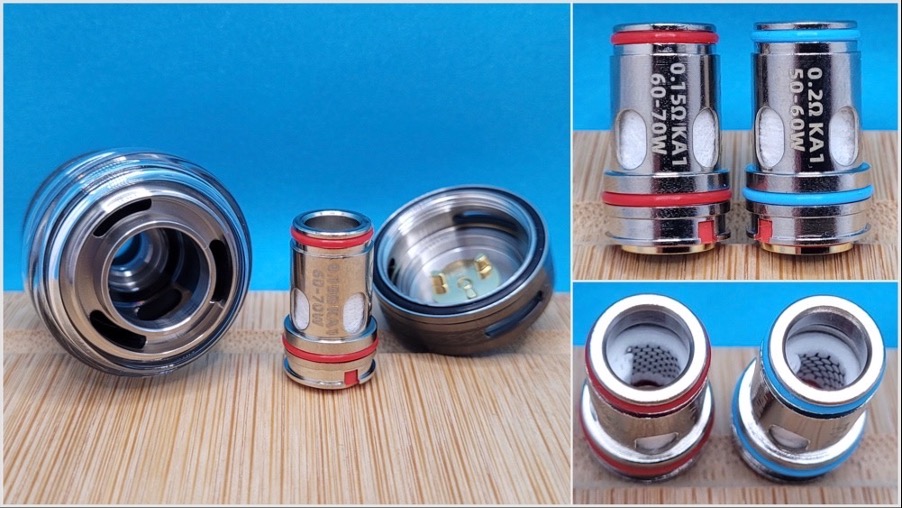
The coils are a modern press fit design and can be changed by removing the base section. In case you’re wondering, those three holes around the base aren’t for liquid to flow through, they are the airflow tubes from the upper airflow section. Two coils are included in the box; a 0.15ohm P7-01 and a 0.2ohm P7-02, and both feature a kanthal mesh design. As I was already familiar with the 0.2ohm coil from the Hellbeast 2 tank which I reviewed last year, I decided to jump straight in with the 0.15ohm coil.
The new 0.15 ohm coil worked best for me in the 60 to 65 watt range, and I found that pushing the coil any harder than this didn’t really add anything to the mix. From my previous experience with the 0.2 ohm coils, these work best in the 55 to 65 watt range so there is a fair bit of overlap between the two but you should be happy with the performance of either coil.
As for the dual airflow, did it add anything new to the experience? I found either airflow on its own to be quite restricted, particularly the top airflow. To get the best from the coils, I found that I had to use both at the same time and as the P-coils have quite a large bore, I was tending to run both airflows fully open.
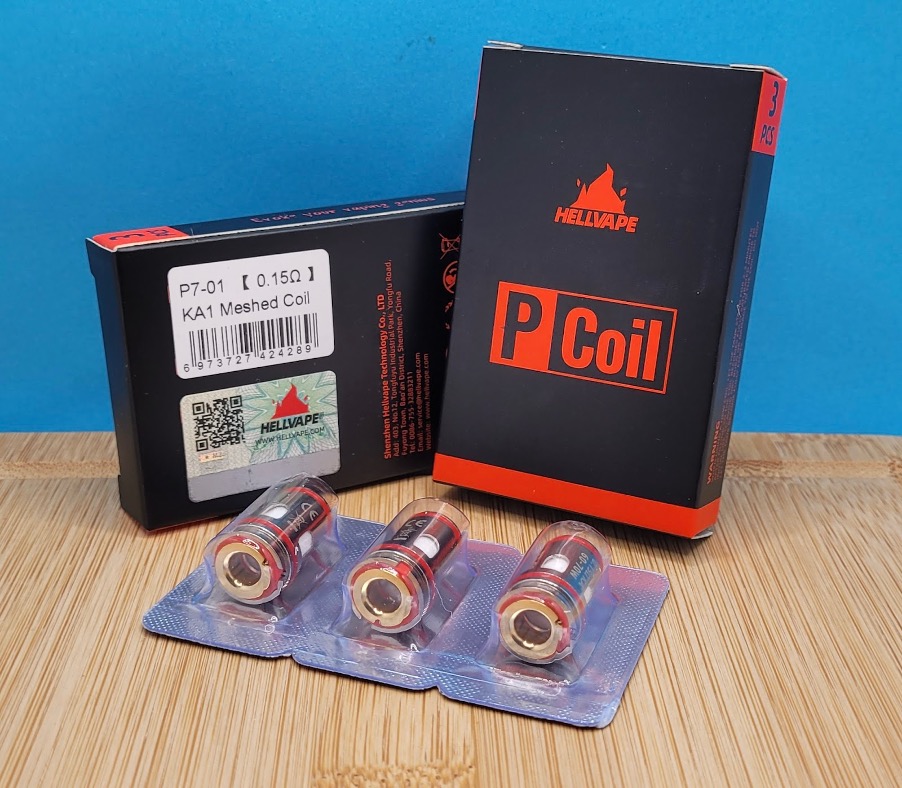
P-coils come in packs of three and are a not unreasonable £6.99 from the likes of Legion of Vapers here in the U.K. so pricing and availability aren’t a problem.
Pros
- Inexpensive sub-ohm tank and coils
- Good performance from the coils
Cons
- The offset airflows with the straight glass fitted
Conclusion
The Hellvape Fat Rabbit 2 tank is a great choice if you’re in the market for an everyday sub-ohm tank. It’s quite affordable as well at just £23.99 for the tank and £6.99 for packs of coils from places like Legion of Vapers here in the U.K.
Many thanks to Hellvape for sending the Fat Rabbit 2 tank over for review.
Antony Lord
Reviewer at POTVI was a twenty a day smoker for 25 years and like most smokers I was always going to quit "next week". Having hit my mid forties and having the usual smokers cough and difficulty with anything more than moderate exercise it was obviously time to give up the cancer sticks. I bought my first e-cigarette in 2013 when they were expensive, difficult to find and quite frankly... crap. I used it for about a week then went back to the roll ups, mark up another failed quit attempt. The fact that I had just changed jobs and was under quite a lot of stress probably didn't help. Move on to 2016 and whilst I was browsing eBay I noticed that one of the suggested items that would occasionally pop up was for a cheap e-cigarette. It looked similar to the one I'd bought 3 years earlier but it was only £5 (about 8 times cheaper than before) so I decided to give it another go on a whim. Once the kit arrived I managed to gradually replace the cigarettes with my new kit over a two month period and got into watching YouTube reviews for newer kit. My cheap and cheerful kit was replaced by a more upmarket affair, and being a noob I made a mistake once it arrived... I put in the supplied direct lung coil, this was of course a complete revelation and I haven't touched a cigarette since. Oh and I no longer spend the first five minutes of every day having a coughing fit either.
Join the discussion

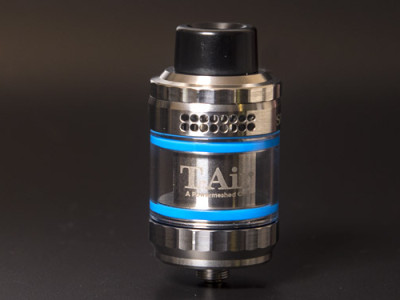
Smok T-air Subtank
Smok are back in a big way with the new SMOK T-Air Subtank
-
by Si Davies

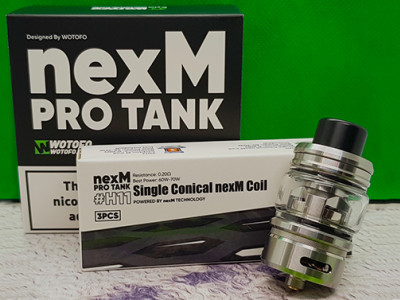
Wotofo nexMESH Pro Tank
Wotofo have sent out the latest version of their sub ohm stock coil tank, the nexMESH Pro. If it's anywhere near as good as their previous mesh tanks, it should be a real treat!
-
by Antony Lord

HorizonTech Falcon II
Craig gets his Subohm game on with the Horizontech Falcon II Subohm tank
The Ohmage Sub-Ohm Tank by Dovpo
It’s not very often Si gets excited about a stock coil tank as he prefer RTAs, so it takes something a bit different to catch my eye. The Dovpo Ohmage Sub-Ohm Tank certainly did that. Check out what he thought
-
by Si Davies