tootingyoda
Veteran
- Joined
- Dec 4, 2015
- Messages
- 5,535
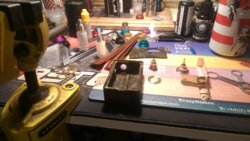
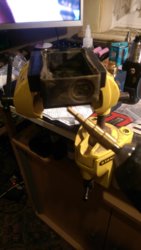
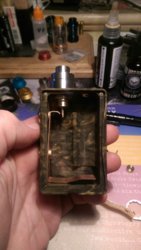
I made a start modifying one of my boxes last night. Nearly done, but not without a couple of hiccups. I'll post some pics when I'm done, assuming I'm successful.


I have just posted this to my FB.
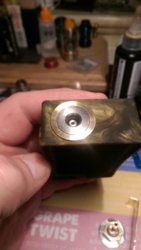
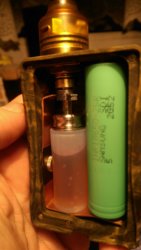
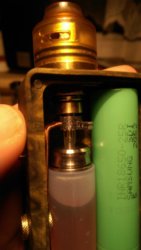
"Anyone with the Aleader X-drip BF Box Mod, watch as the button and fastener will create a hard short with the sleeve of your RDA that is on top of it, Don't put it in a pockets with anything metal.
How hard is it for manufacturers to make sure that there is no way of creating a hard short with their Mech Mods, I had it fixed withing 5 mins.
Watch my Vlog next week for a fix for it.
Please share this around your friends that may have/getting one."

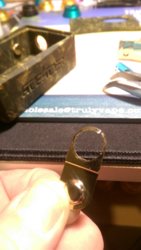
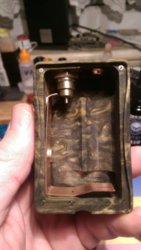
I have used a battery sleeve on the plate from the negative up to the button, at the bottle part and shrinked it, then put a hole in it for the fastener to get through.
I may do a video of it if I have time tomorrow and enough power in the camcorder.


I'm certainly no craftsman, just a happy "bodge it and scarper" hobbyist, who got it right for a change.
")