

gords1001
Achiever
- Joined
- Oct 12, 2013
- Messages
- 2,031
Ok.......
This is a story so far......luke, despite promising me he would go to sleep, has got up and demanded I come settle him down again. Mrs gords wont do as he's a bit of a daddies boy.

However this does not mean we cannor get started.
I used a piece of .45 kanthal that was lay on the bench looking likely. Cos I'm professional an' that...
Here's the start of a micro coil wrapped around the ubiquitous clone screwdriver (I use these as I have a few so dual coils are quite easy and repeatable, they come with many clone attys but anything around 2mm will do).
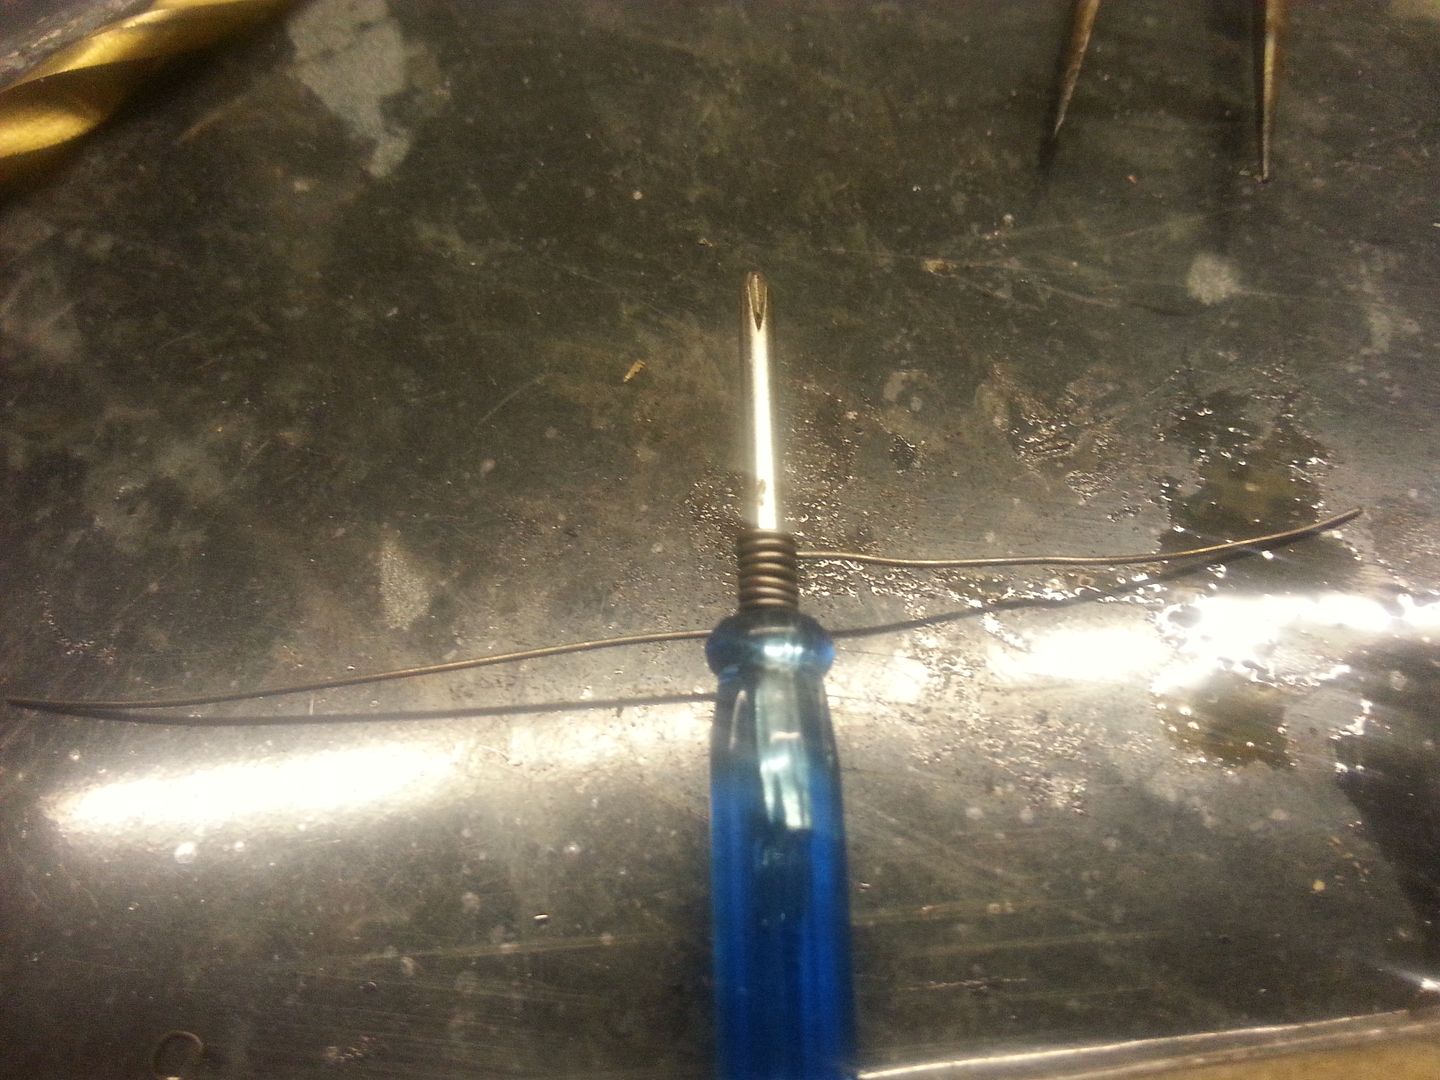
The great thing about the thicker wire is its not as springy once its been flamed to take the tension out.
Next we need to address the deck.
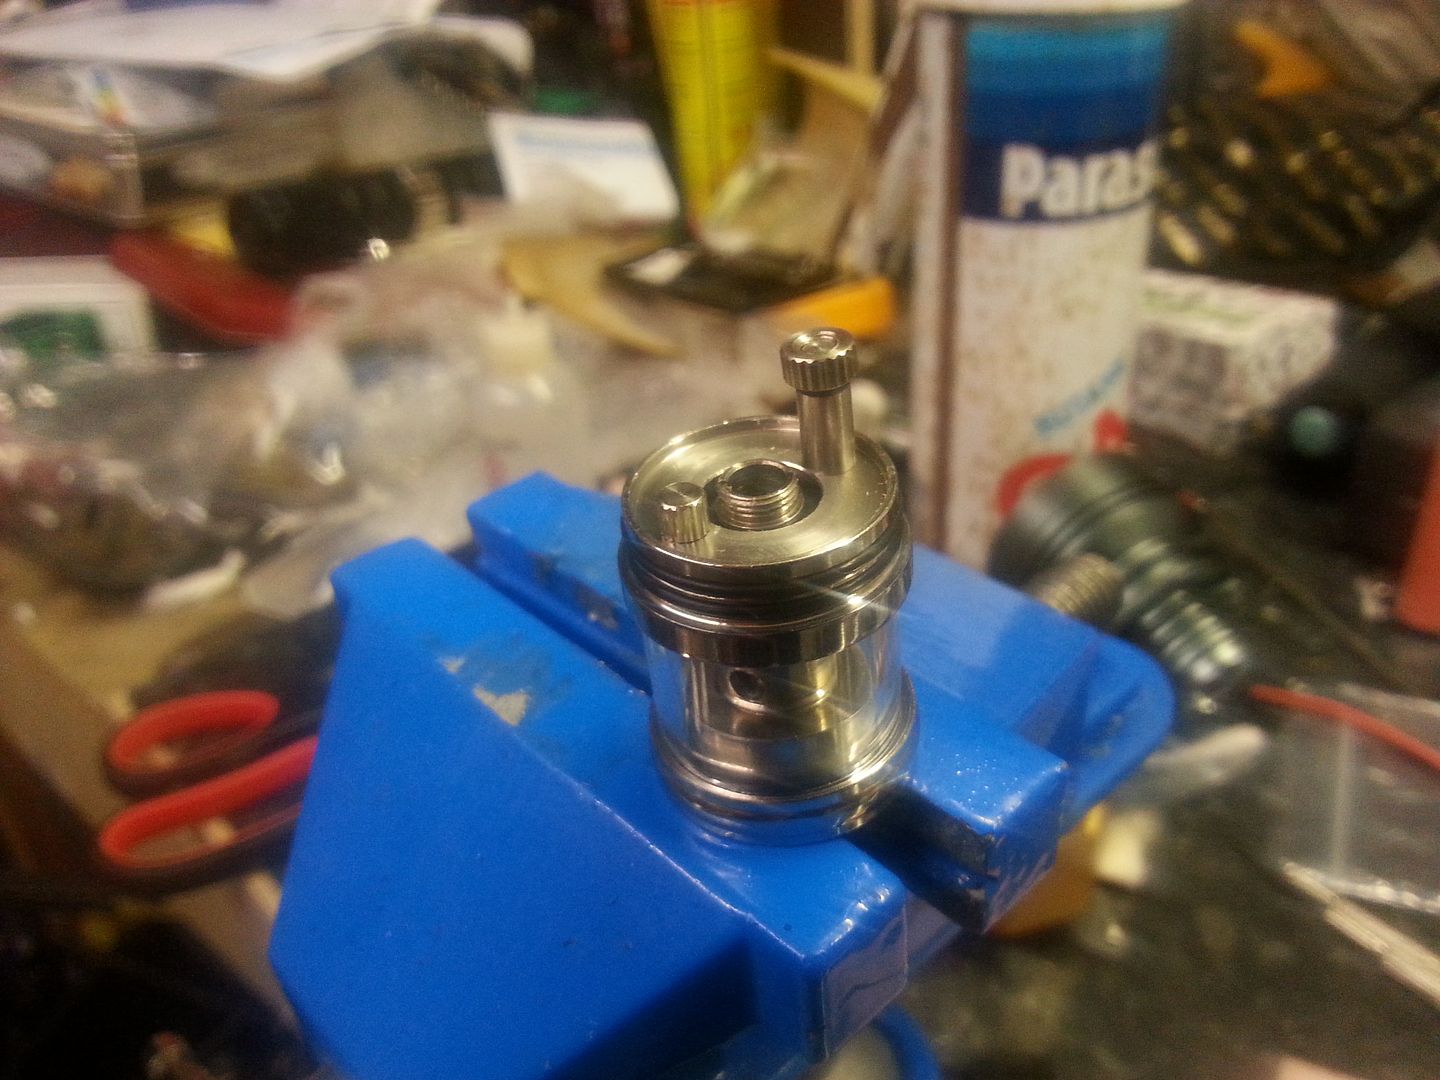
This proved fiddly tbh but doable. Started the knurled ring, feed in your wire if need be shape in to a hook.
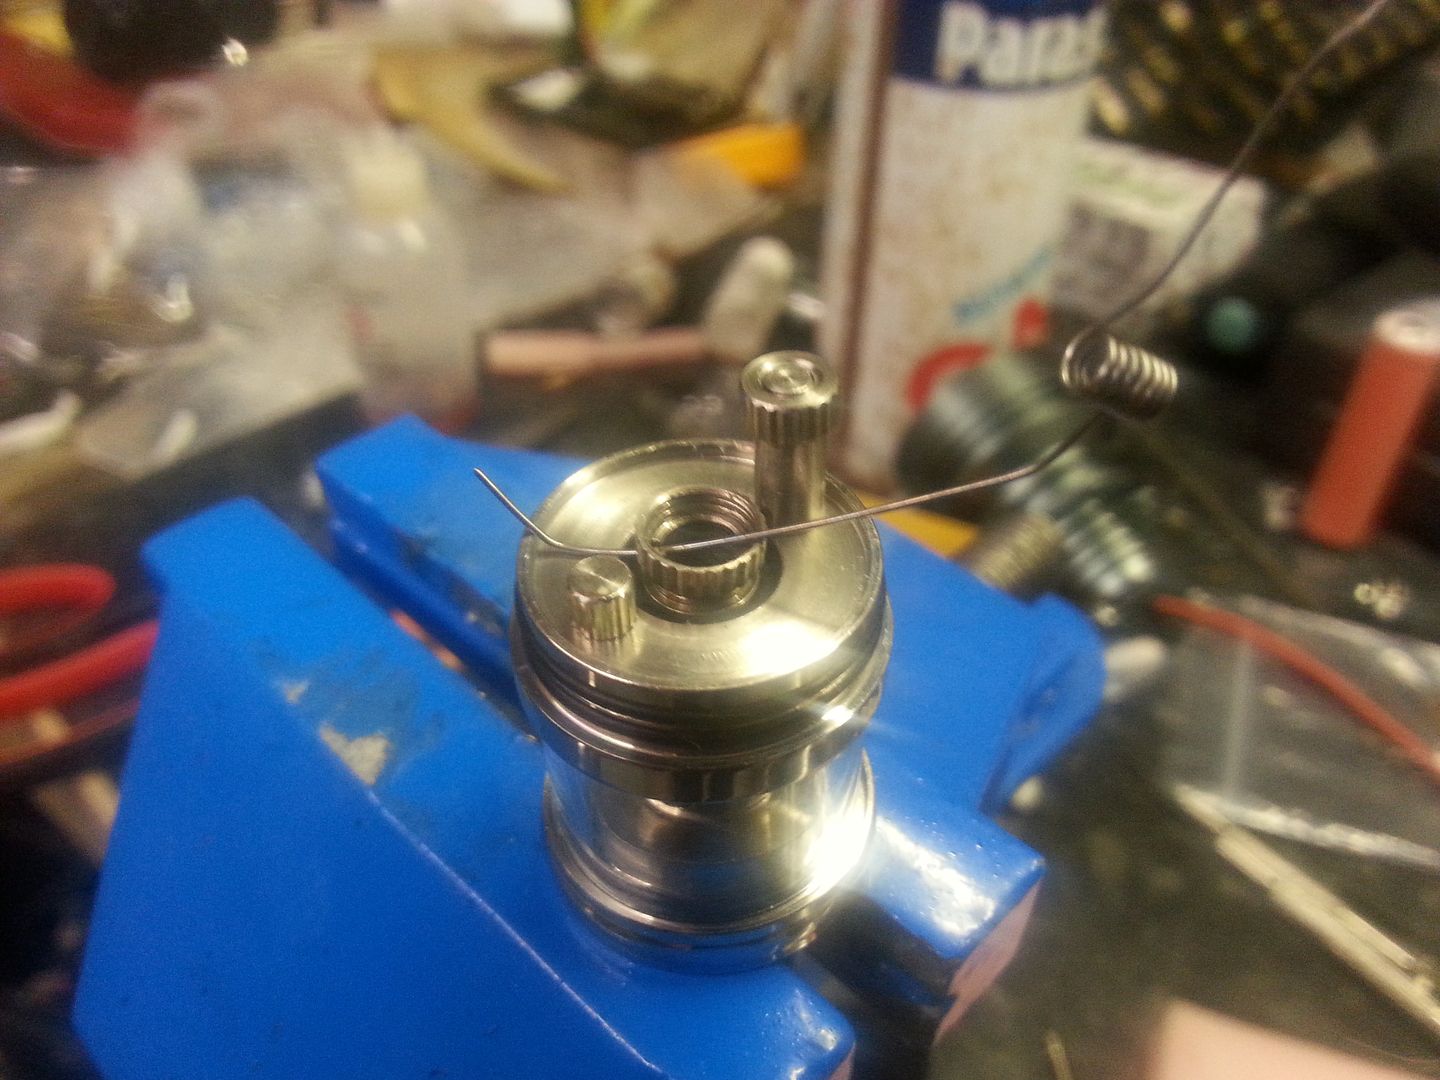
Here's the shape I needed to get the coil in the position I wanted.
And here's how I locate it as central as possible to the well shaft.
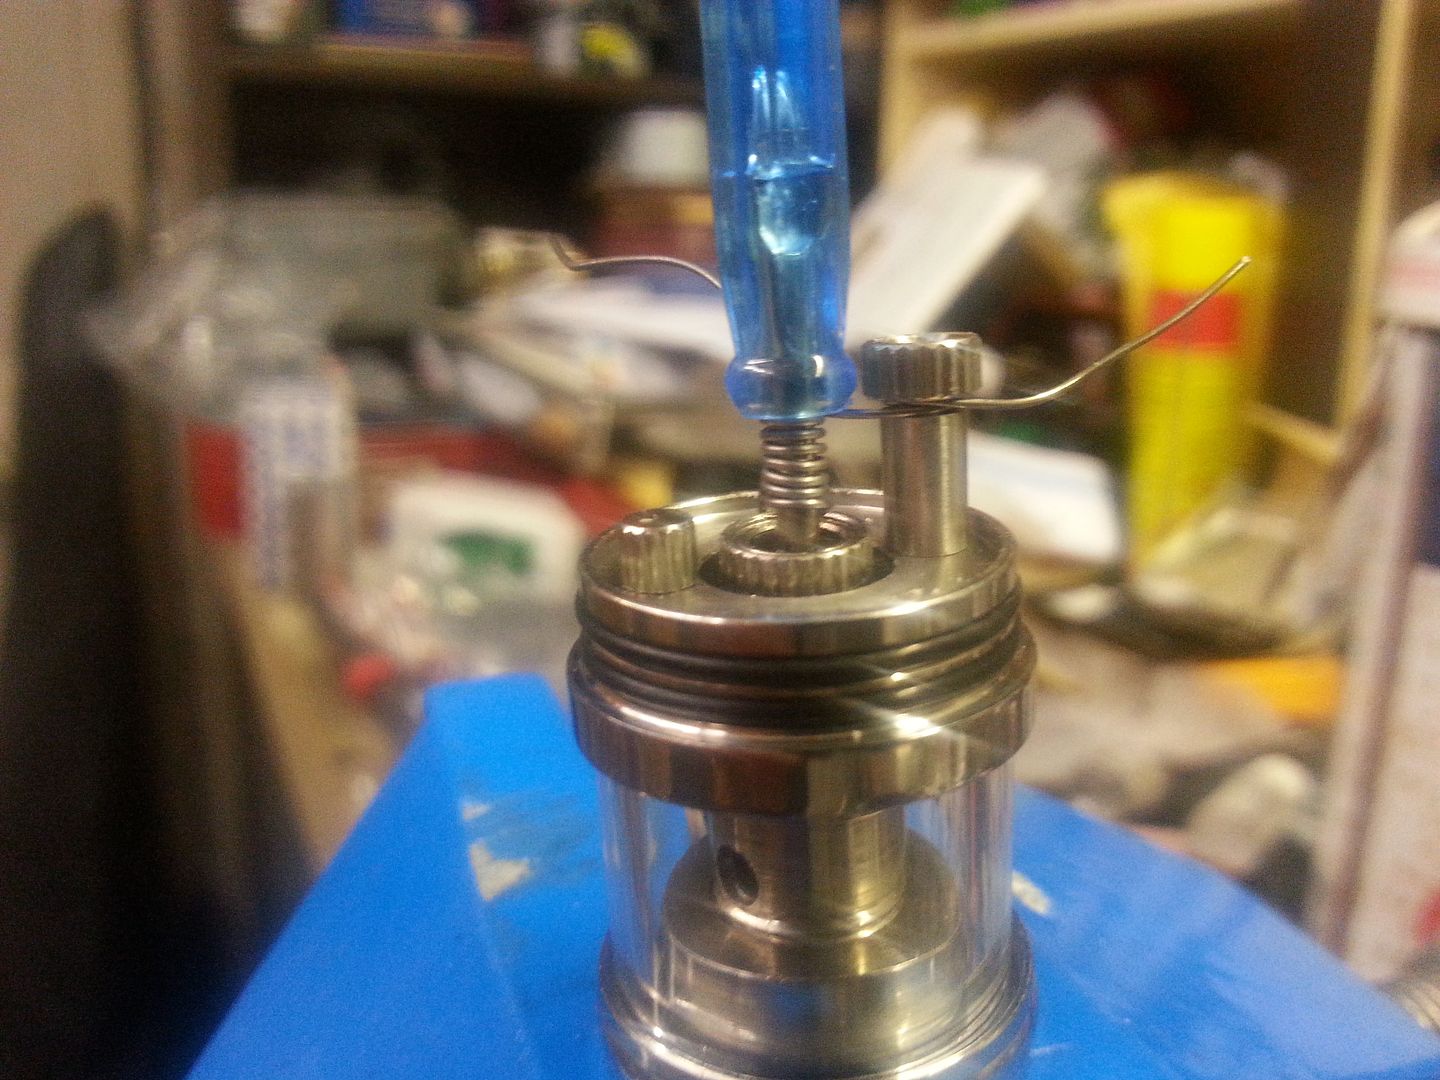
You can see I also made off the negative before taking this. Make sure the positive is pushed up hard against the ring as its a potential short problem here.
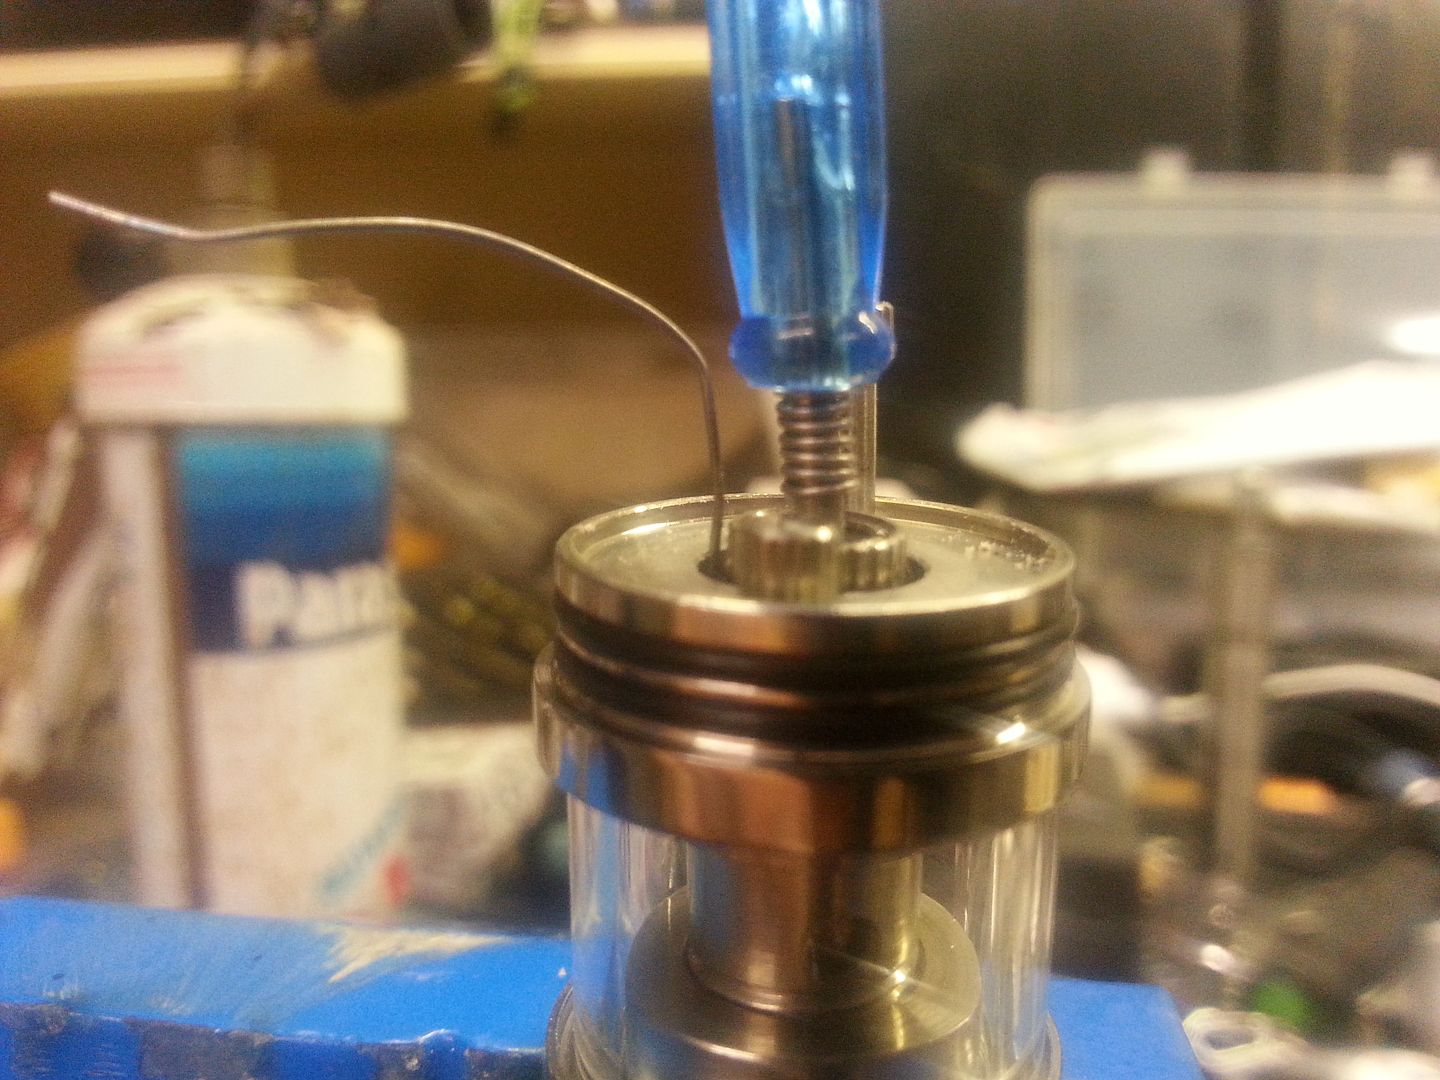
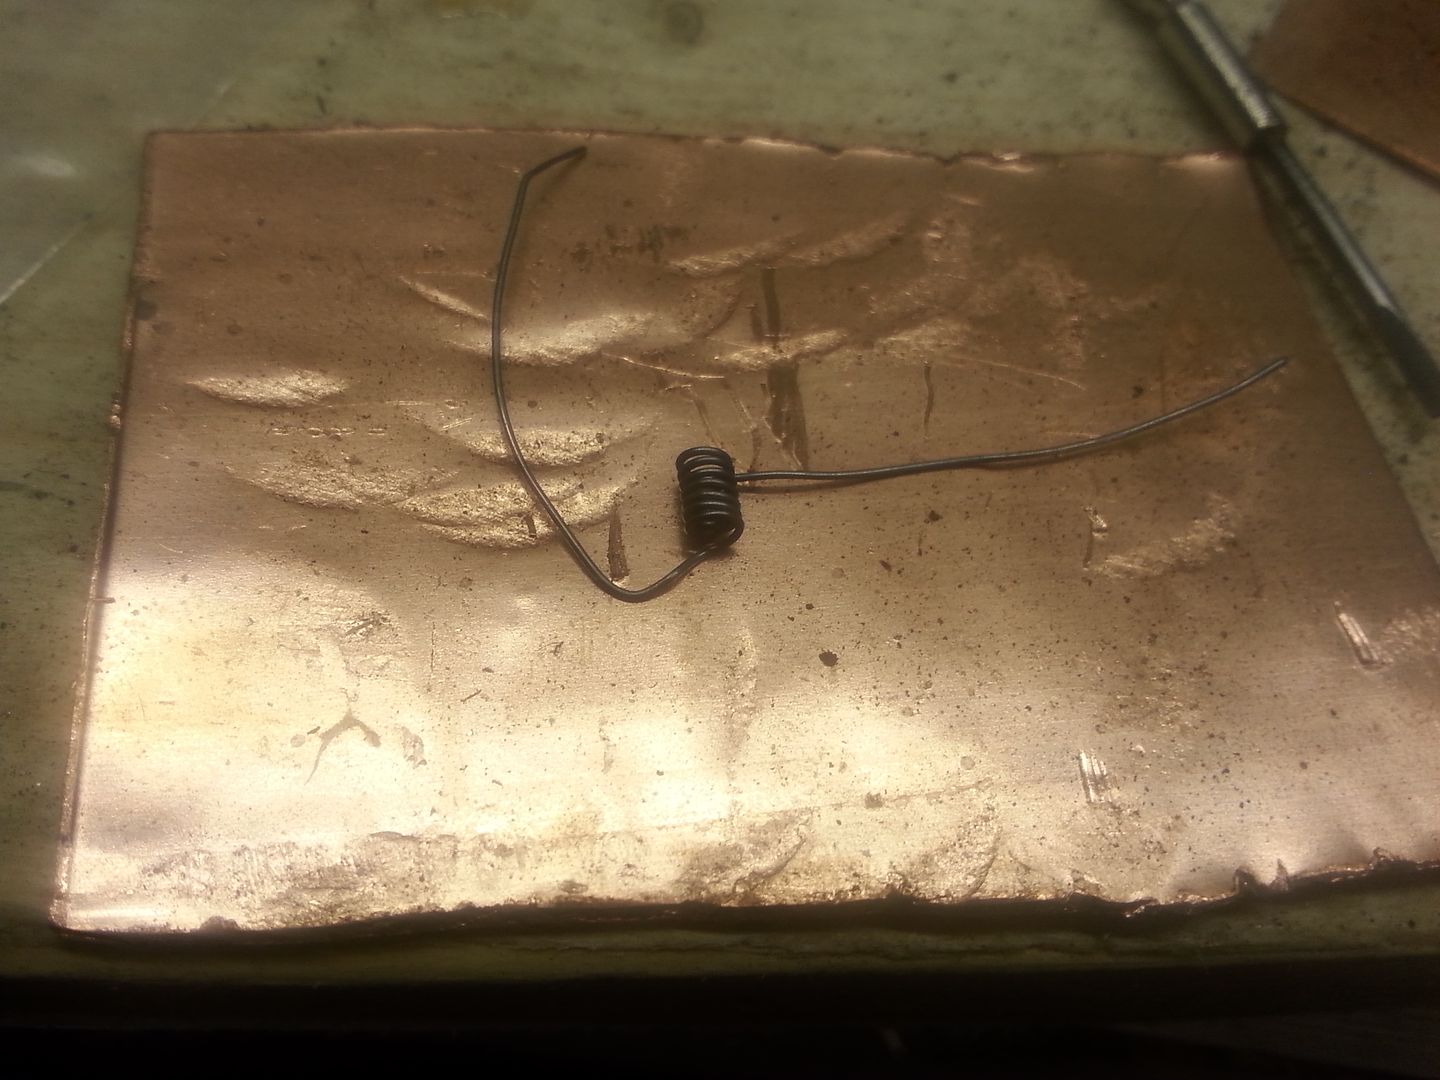
As you can see we have one scruffy looking micro ish coil. Next step is to get those coils neat and uniform.
First get them glowing. Have your tweezers to hand ready because you want to let off the button, get them
In there and gently pinch them together tgen hold till their cold.
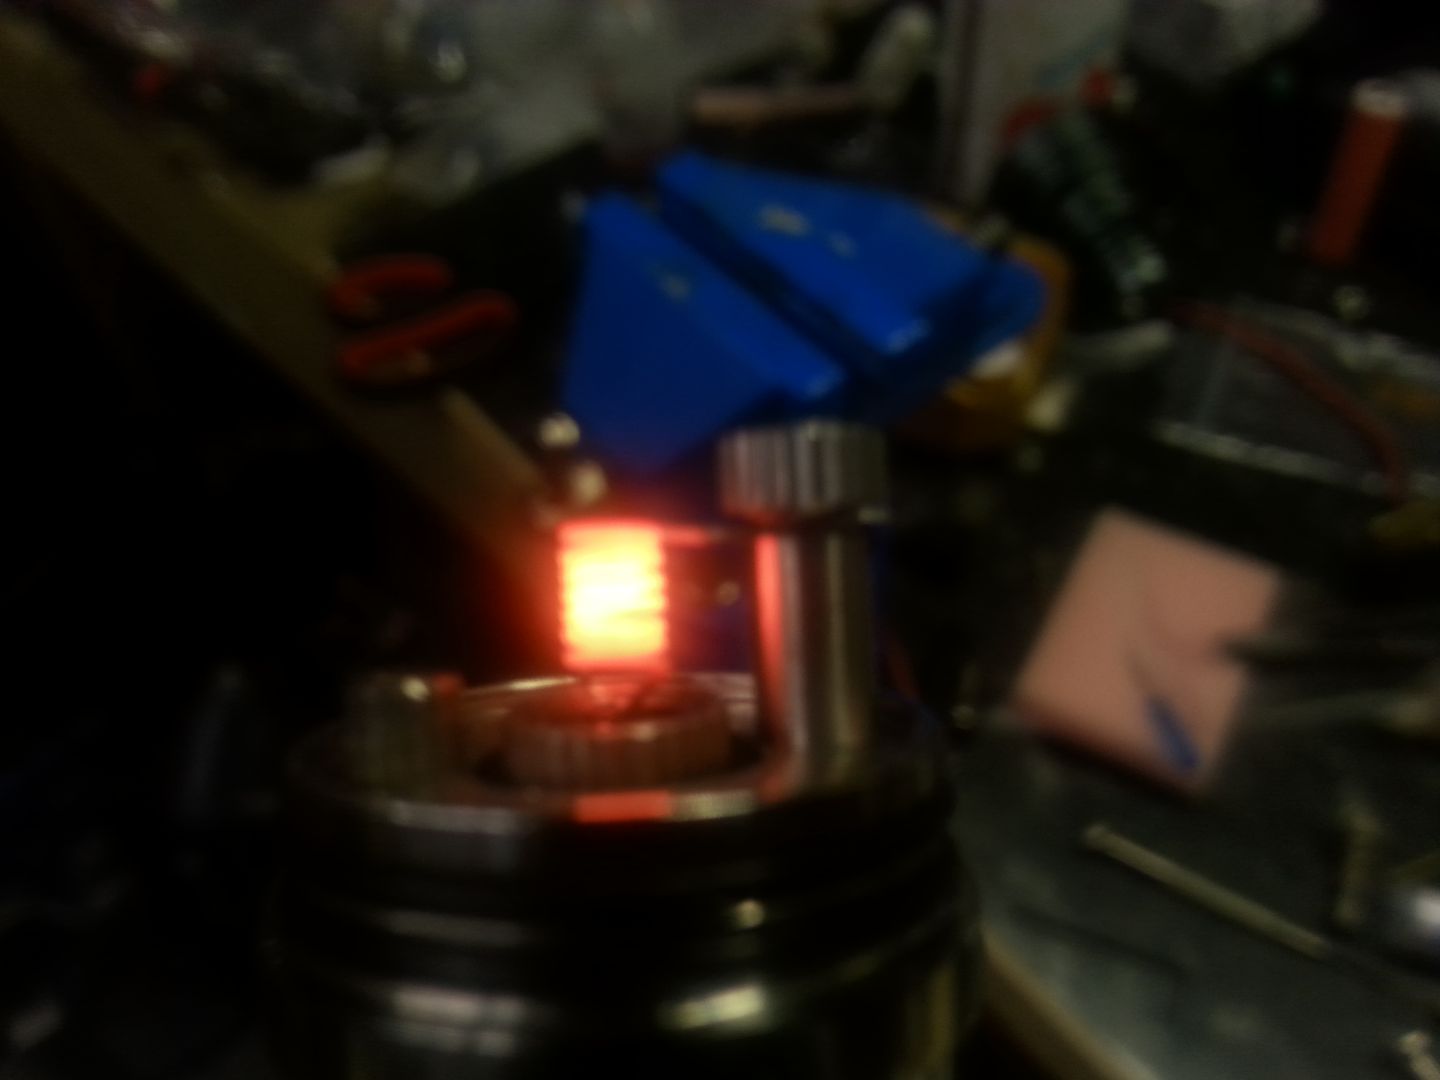
Repeat this process till their nice and uniform, forming what looks a little like a screw thread and the glow from the inside out when pulsed.
I'll have to pause here as I've run out of pictures and the little bugger is not asleep yet.
This is a story so far......luke, despite promising me he would go to sleep, has got up and demanded I come settle him down again. Mrs gords wont do as he's a bit of a daddies boy.

However this does not mean we cannor get started.
I used a piece of .45 kanthal that was lay on the bench looking likely. Cos I'm professional an' that...
Here's the start of a micro coil wrapped around the ubiquitous clone screwdriver (I use these as I have a few so dual coils are quite easy and repeatable, they come with many clone attys but anything around 2mm will do).

The great thing about the thicker wire is its not as springy once its been flamed to take the tension out.
Next we need to address the deck.

This proved fiddly tbh but doable. Started the knurled ring, feed in your wire if need be shape in to a hook.

Here's the shape I needed to get the coil in the position I wanted.

And here's how I locate it as central as possible to the well shaft.

You can see I also made off the negative before taking this. Make sure the positive is pushed up hard against the ring as its a potential short problem here.

As you can see we have one scruffy looking micro ish coil. Next step is to get those coils neat and uniform.
First get them glowing. Have your tweezers to hand ready because you want to let off the button, get them
In there and gently pinch them together tgen hold till their cold.

Repeat this process till their nice and uniform, forming what looks a little like a screw thread and the glow from the inside out when pulsed.
I'll have to pause here as I've run out of pictures and the little bugger is not asleep yet.


