gavc
Initiate
- Joined
- Dec 28, 2015
- Messages
- 34
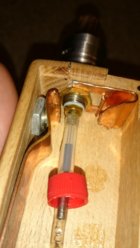
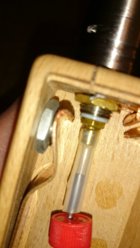
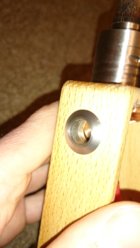
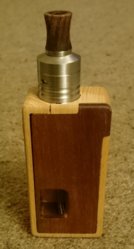
Excuse the seriously terrible work done here guys but a little info on the very basic mechanical squonker I built, comments appreciated! I've been vaping for 2 years but never built a mod before.
It started when I saw Todd buy a very nice little wooden box a good few months back and I thought "hey I could build myself a squonker with that!". So I purchased the box from https://boxmod.ecwid.com/ and purchased a mosfet, fat daddy 510 with squonk pin, wire, battery sled and all the rest of it from http://modmaker.co.uk/ (thanks Richard!). When the box came 10 days later it was blatantly obvious that everything was going to be such a tight fit. I gave it a go and failed miserably.
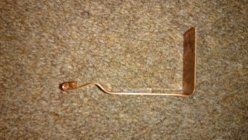
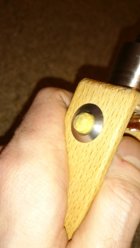
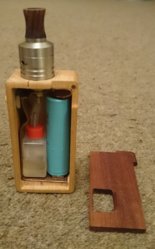
Then I thought instead of wires and battery sleds I could turn this into a mechanical squonker. Being new to mod making, and being a little worried about the safety of it all I did all my research and concluded that I knew my battery safety and that's all I needed to know. I bought a pre cut strip of copper from eBay and went at it with nothing more than a pair of tin snips and a pair of pliers. As you can see from the photos it's not exactly expert craftmanship, however, this little baby works a treat! I got the bottles from China (they are actually advertised as portable herb pots) but they are the PERFECT size for the little fella. I have a couple of mechanical mod clones and hybrid tube mod clones and I tell you this thing has way more kick to it. Unfortunately the top rim of the wood has cracked a little but it is holding up apart from that and I've been using it for a couple of months now.
All in all it came in under £50 and there really is something about vaping on a mod you've built yourself. I think down the line I'm going to give a regulated mod a go (as if I need any more gear).


 the squonk looks awesome btw- great job !
